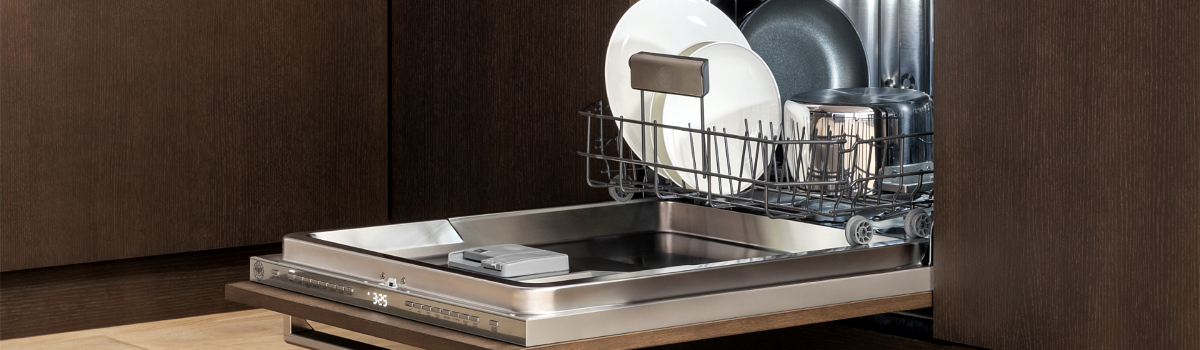
Seeing E13 on a Bertazzoni dishwasher usually points to a heater (heating element) problem. In plain terms, the machine isn’t warming the wash water as it should. That can be as simple as a loose wire or as involved as a failed control board, but you can work through it in a sensible order without wasting parts.
First, stay safe
Unplug the dishwasher or switch off the breaker before you touch anything, and close the water supply valve if you’ll be moving the machine. Electricity + water isn’t a combo to “wing.”
Likely causes (in order of probability)
- A loose, corroded, or burnt connection on the heater or its wiring harness
- A failed heating element (open circuit or short to ground)
- A control issue (relay or control board that no longer drives the heater)
Quick checks you can do
Start with the easy wins. After cutting power:
- Inspect the wiring to the heater. Look for loose spade connectors, heat-darkening, or brittle insulation. Reseat any loose connectors and clean light oxidation.
- Continuity test. With a multimeter, disconnect the heater leads and check resistance across the element. A healthy heater shows continuity (exact ohms vary by model; “OL” means it’s open/failed). Also check for a short to chassis ground.
- Thermal cutouts / sensors. If your model uses an inline thermostat/thermal fuse on the heater circuit, confirm it hasn’t tripped or failed open.
If those checks pass, the element is often the culprit. If the element fails continuity or shows a ground fault, replacement is the straightforward move.
Replacing the heater (overview)
Heater access and shape differ by model, but the flow is similar:
- Pull the machine forward, remove the toe-kick, and access the sump/underside.
- Photograph wire placement before disconnecting anything.
- Remove any clamps or brackets, swap the element, transfer seals/gaskets if applicable, and re-seat O-rings carefully to avoid leaks.
- Reconnect wiring firmly—no “wiggle-loose” terminals—then restore power and run a test cycle.
If your dishwasher uses a combined sump/heater assembly, follow the owner’s manual for removal order and torque on fasteners. A light smear of food-grade silicone (where specified by the manual) helps seals seat without twisting.
When it’s probably the control board
If the heater and wiring test good but E13 remains—and the heater never energizes during a wash—the board/relay may not be switching power. Diagnosing live voltage under load is best left to a pro: they’ll verify the board is commanding heat, check relay output, and confirm there isn’t a sensor logic issue (e.g., NTC/temperature sensor misreads causing heat to be inhibited).
A small, smart list of do’s & don’ts
- Do verify power at the outlet/breaker; a half-tripped breaker can mimic heater faults.
- Do clear error codes with a full power cycle after each change so you’re not chasing a “stored” fault.
- Don’t repeatedly run test cycles with obvious faults—dry-firing a bad element can damage wiring and the board.
- Don’t force connectors; if a spade won’t slide on cleanly, correct the fit rather than crushing it.
Preventive tips going forward
Heater failures often come from overheating and poor water flow. Keep filters clean, avoid heavy scale by using the right detergent and periodic descaling in hard-water areas, and fix slow fills or weak circulation early—starved flow around the heater cooks components.
E13 is fixable. Most of the time it’s wiring or the element itself; both are approachable repairs if you’re comfortable with basic tools and safety steps. If you’ve confirmed the heater and connections are good and the code persists, hand it off to a qualified technician to evaluate the control board and rule out sensor-logic faults.